

Source Code Only
Full ZIP with frontend, backend, database & documentation.
₹99 one-time
- Complete project source files
- Database script included
- How-to-run guide
Tap to open live demo
Interactive live demo — verify the project before you buy
Complete final-year project source code with frontend, backend, database, and setup guide. Instant download after secure payment.
Choose your plan
Full ZIP with frontend, backend, database & documentation.
We install & configure the project on your laptop within 24 hours.
Review features, setup steps, and credentials before you pay.
Description, tech stack, and what is included
Daily Expense Tracker is a web-based expense management system built with HTML, CSS, JavaScript, PHP, and MySQL that helps users track daily spending, manage expense records, and generate detailed reports. This expense tracker project includes secure user registration and login, expense categorization, brand and payment mode management, search and filter options, and date-wise, monthly, and yearly expense reports. It also features an admin panel to manage users, categories, brands, payment modes, and all expense entries from one dashboard. Designed for simple and organized financial record keeping, this daily expense tracker using PHP and MySQL is ideal for students, beginners, and developers looking for a practical expense management system project with reporting and user management features.
Ready to download?Pay once · Use for submission & viva
Modules and controls available to administrators
1. Admin Login
2. Admin Dashboard
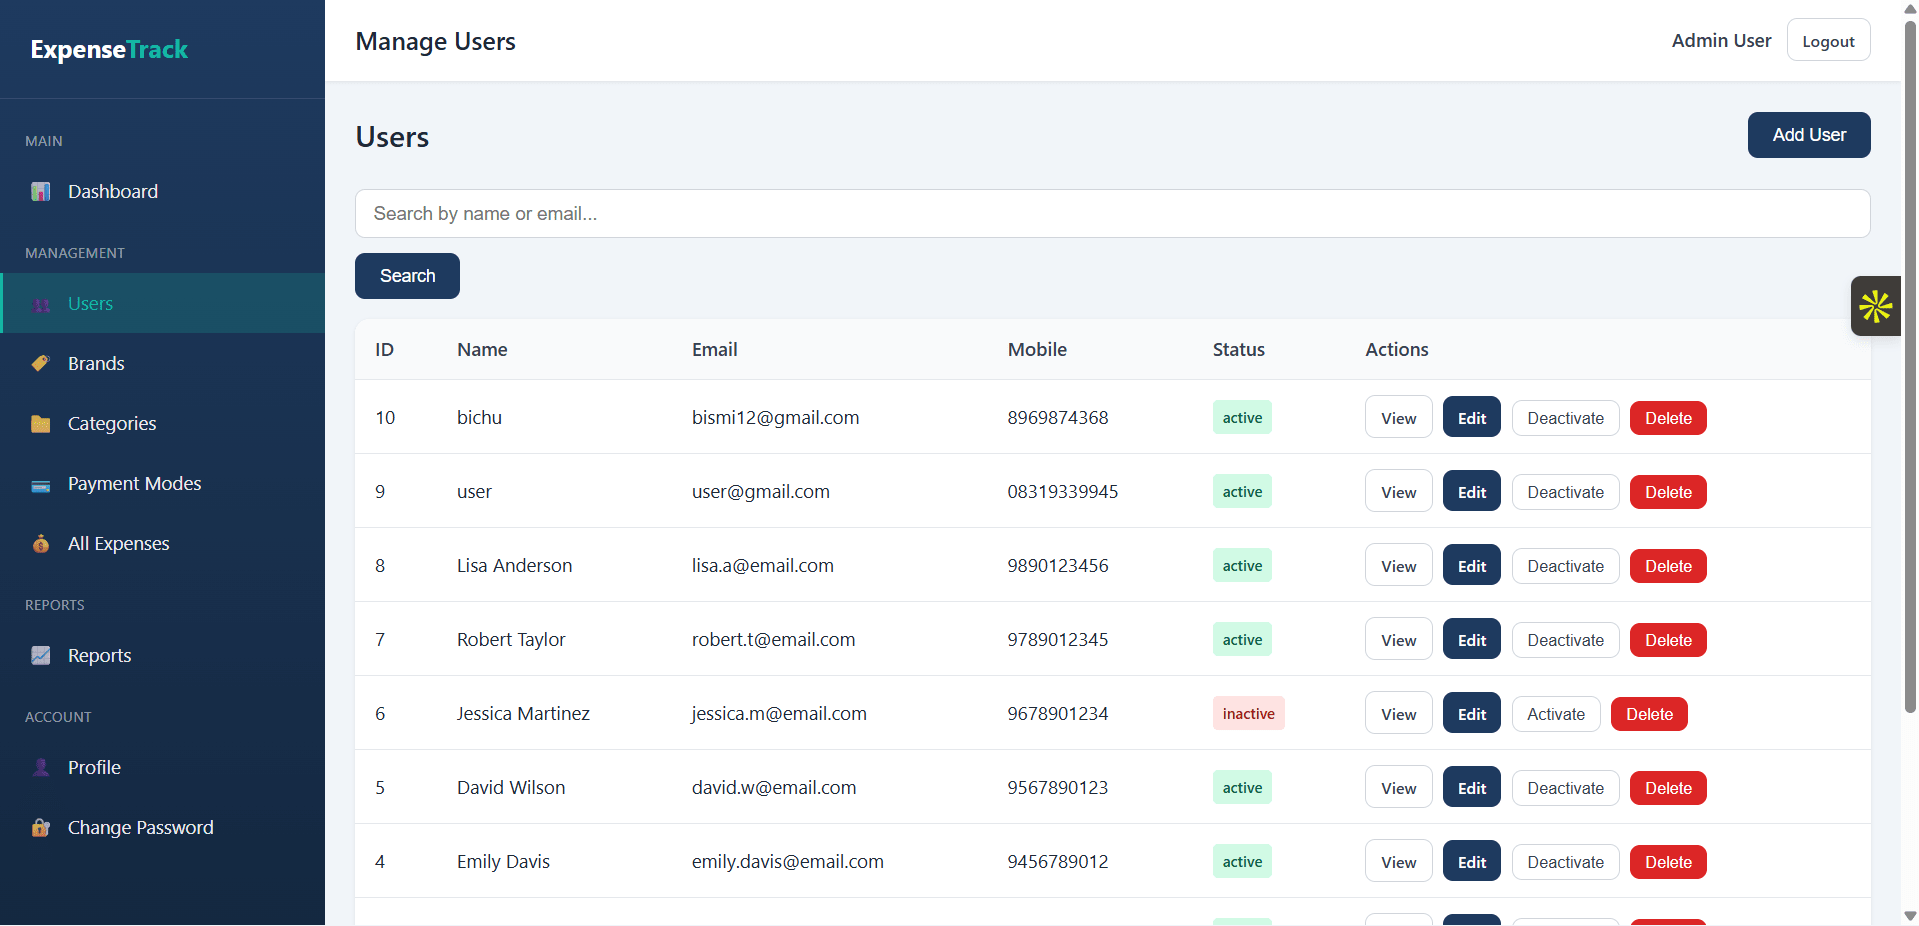
3. Manage Users
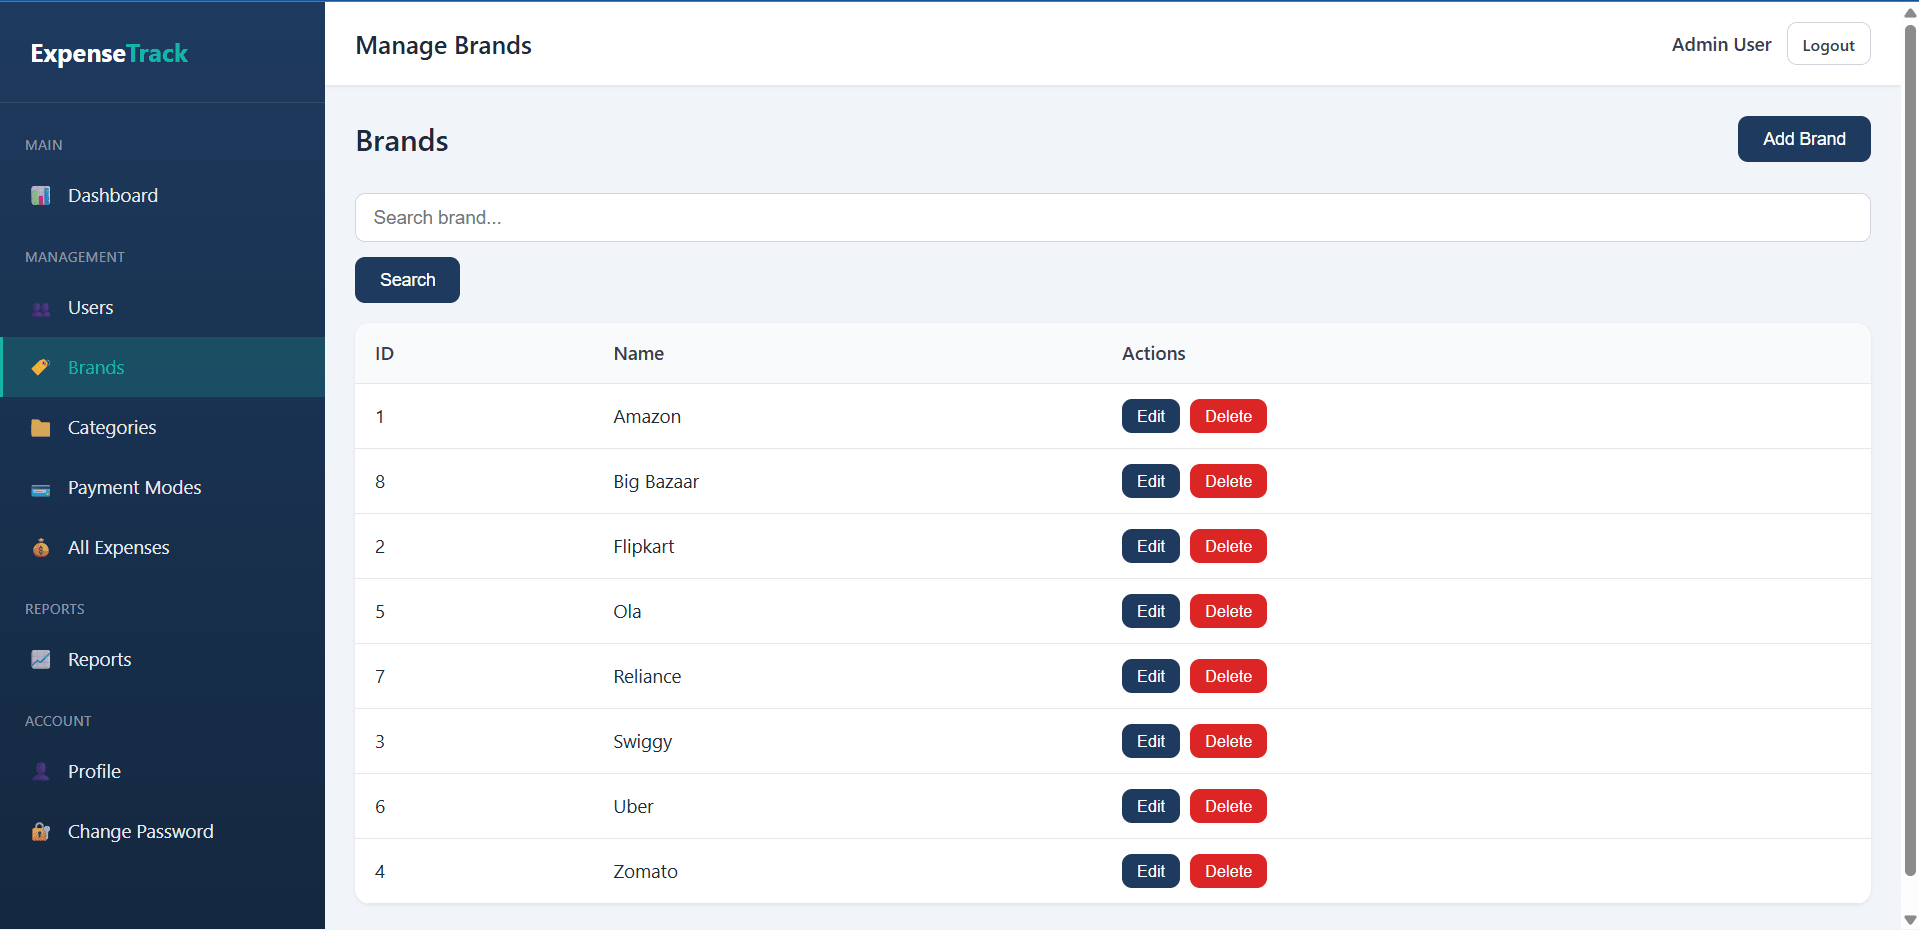
4. Manage Expense Brand
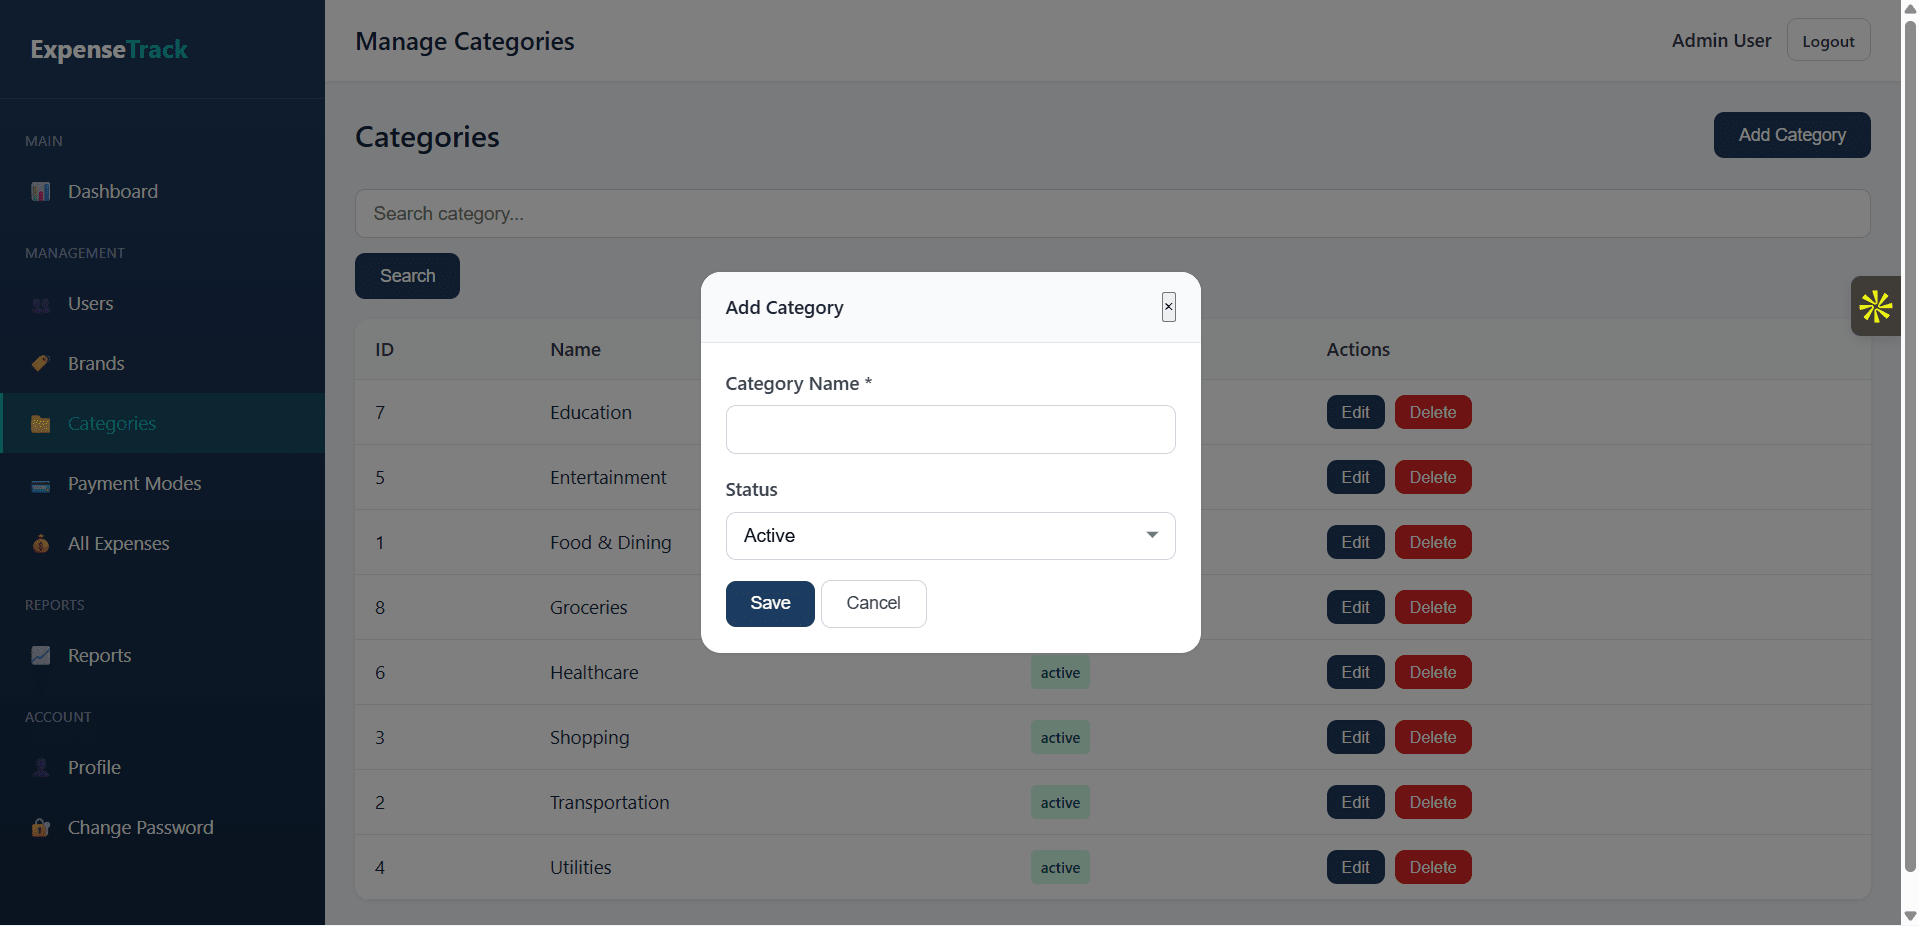
5. Manage Expense Categories
6. Manage Payment Modes
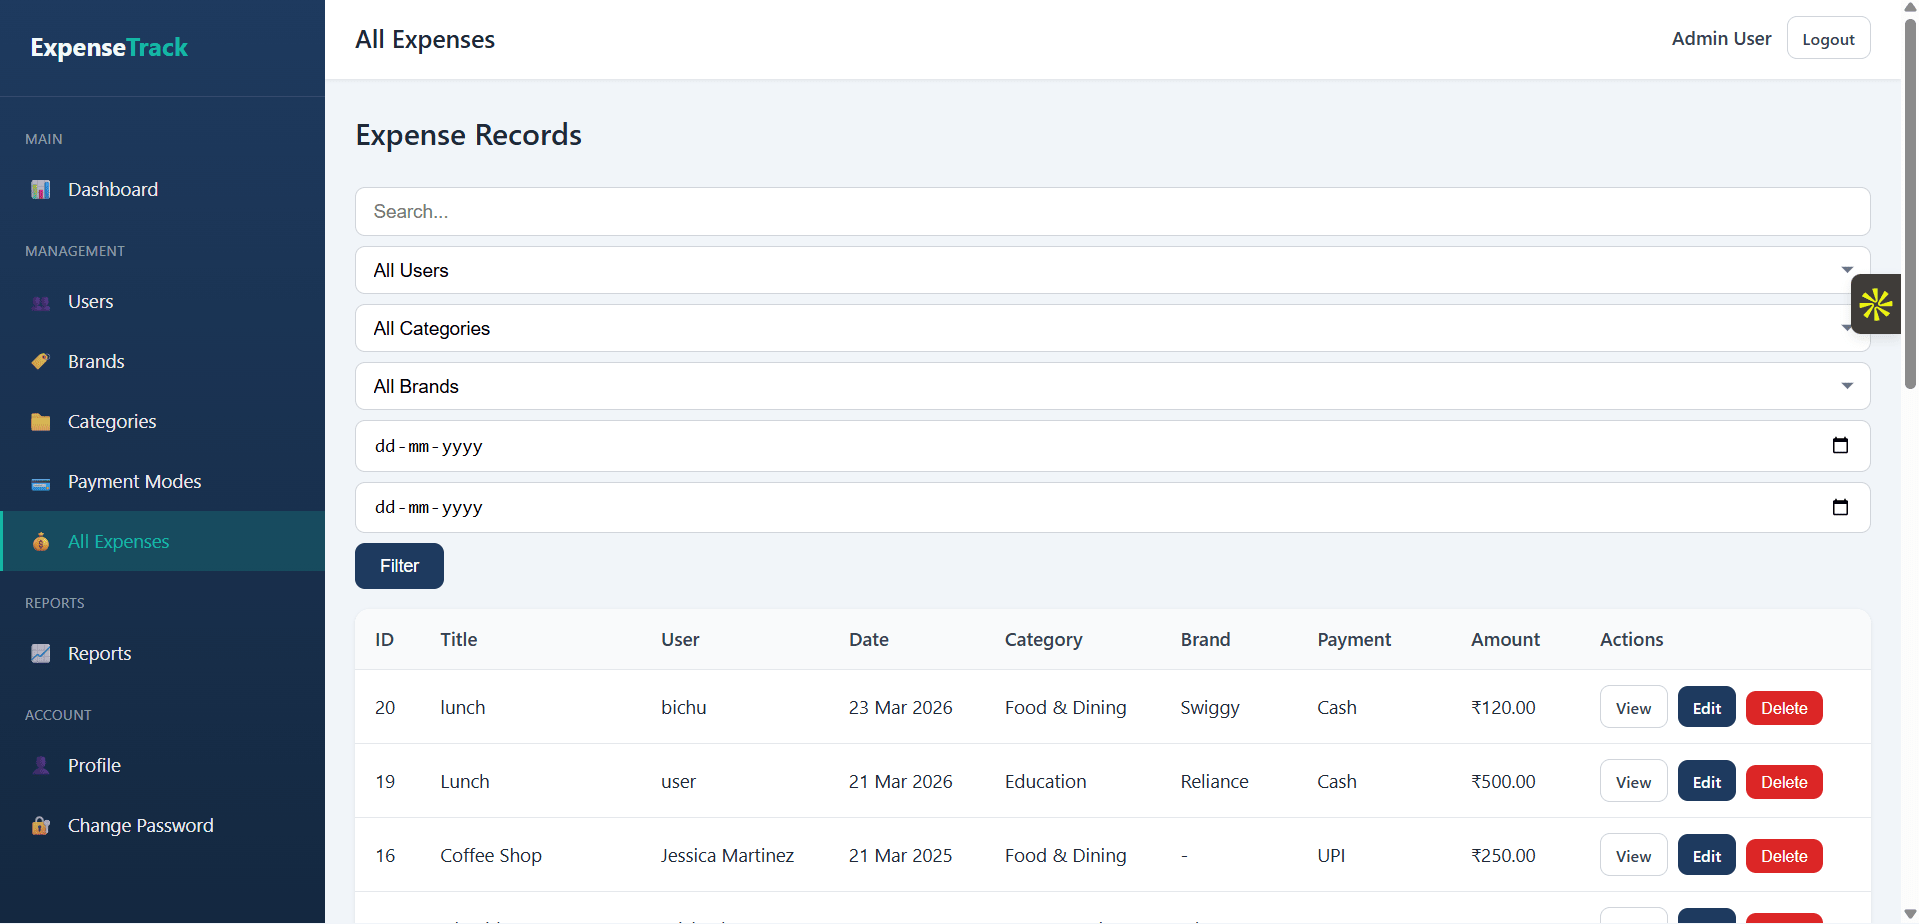
7. Manage Expense Records
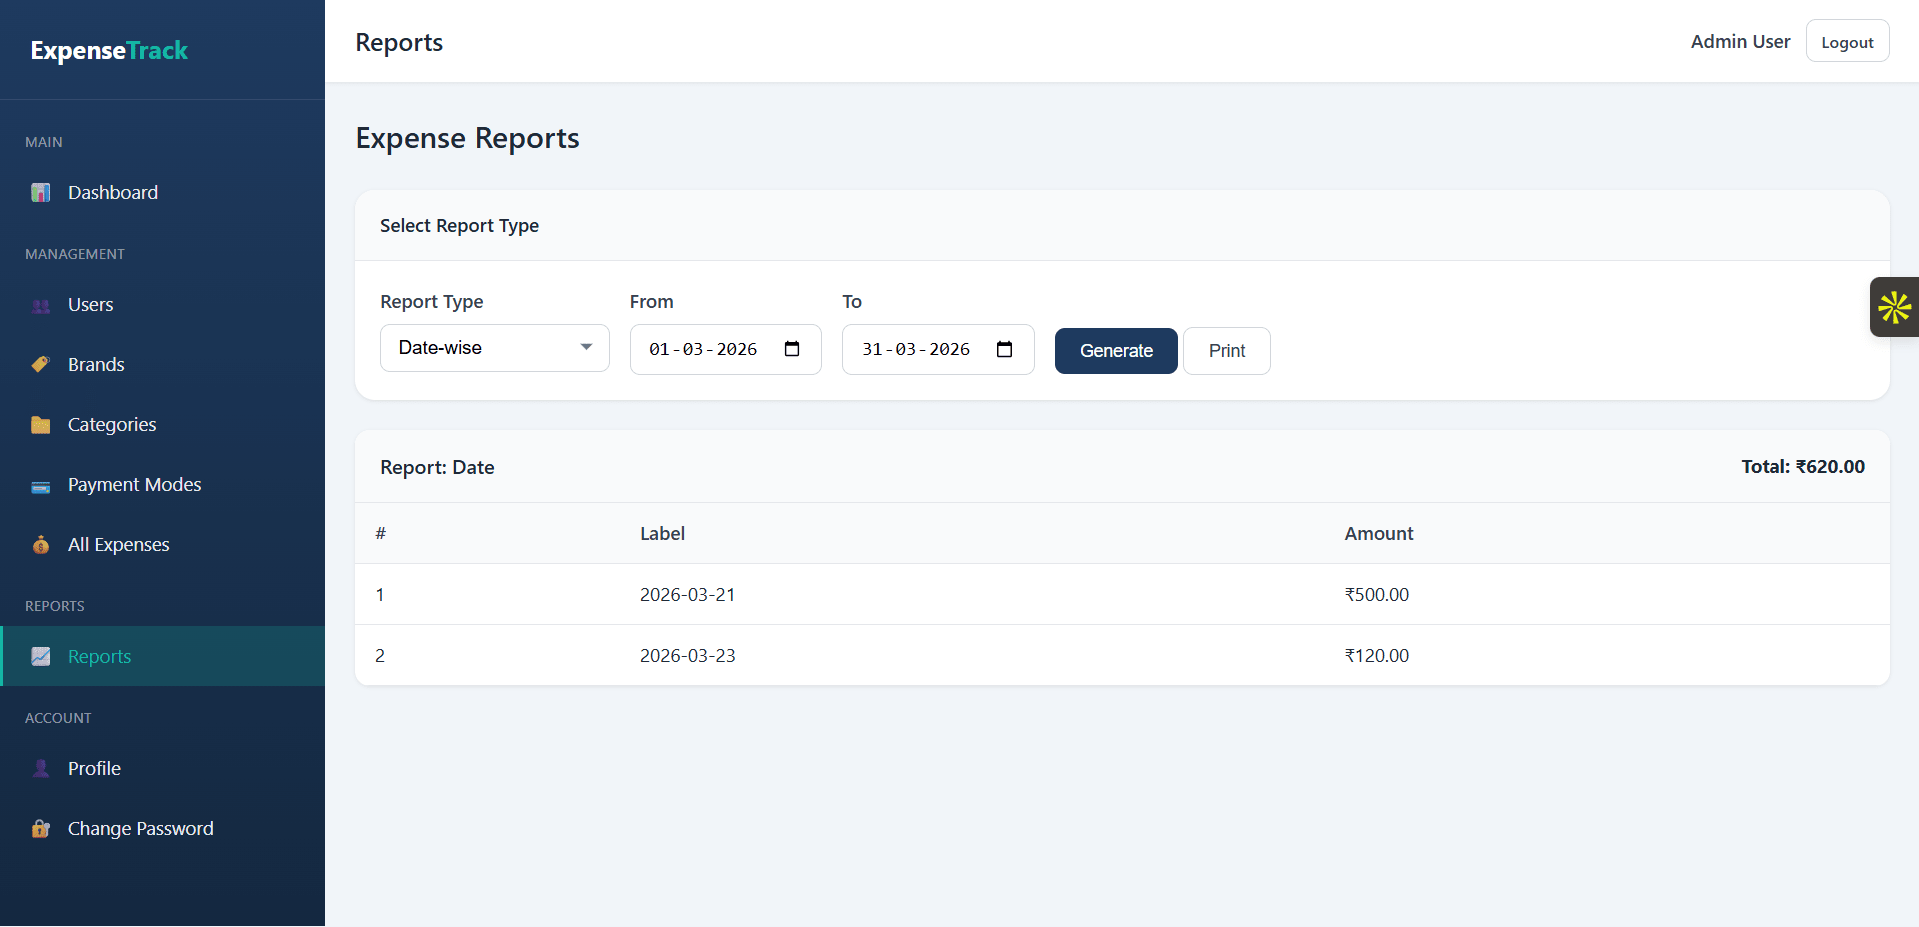
8. Reports Management
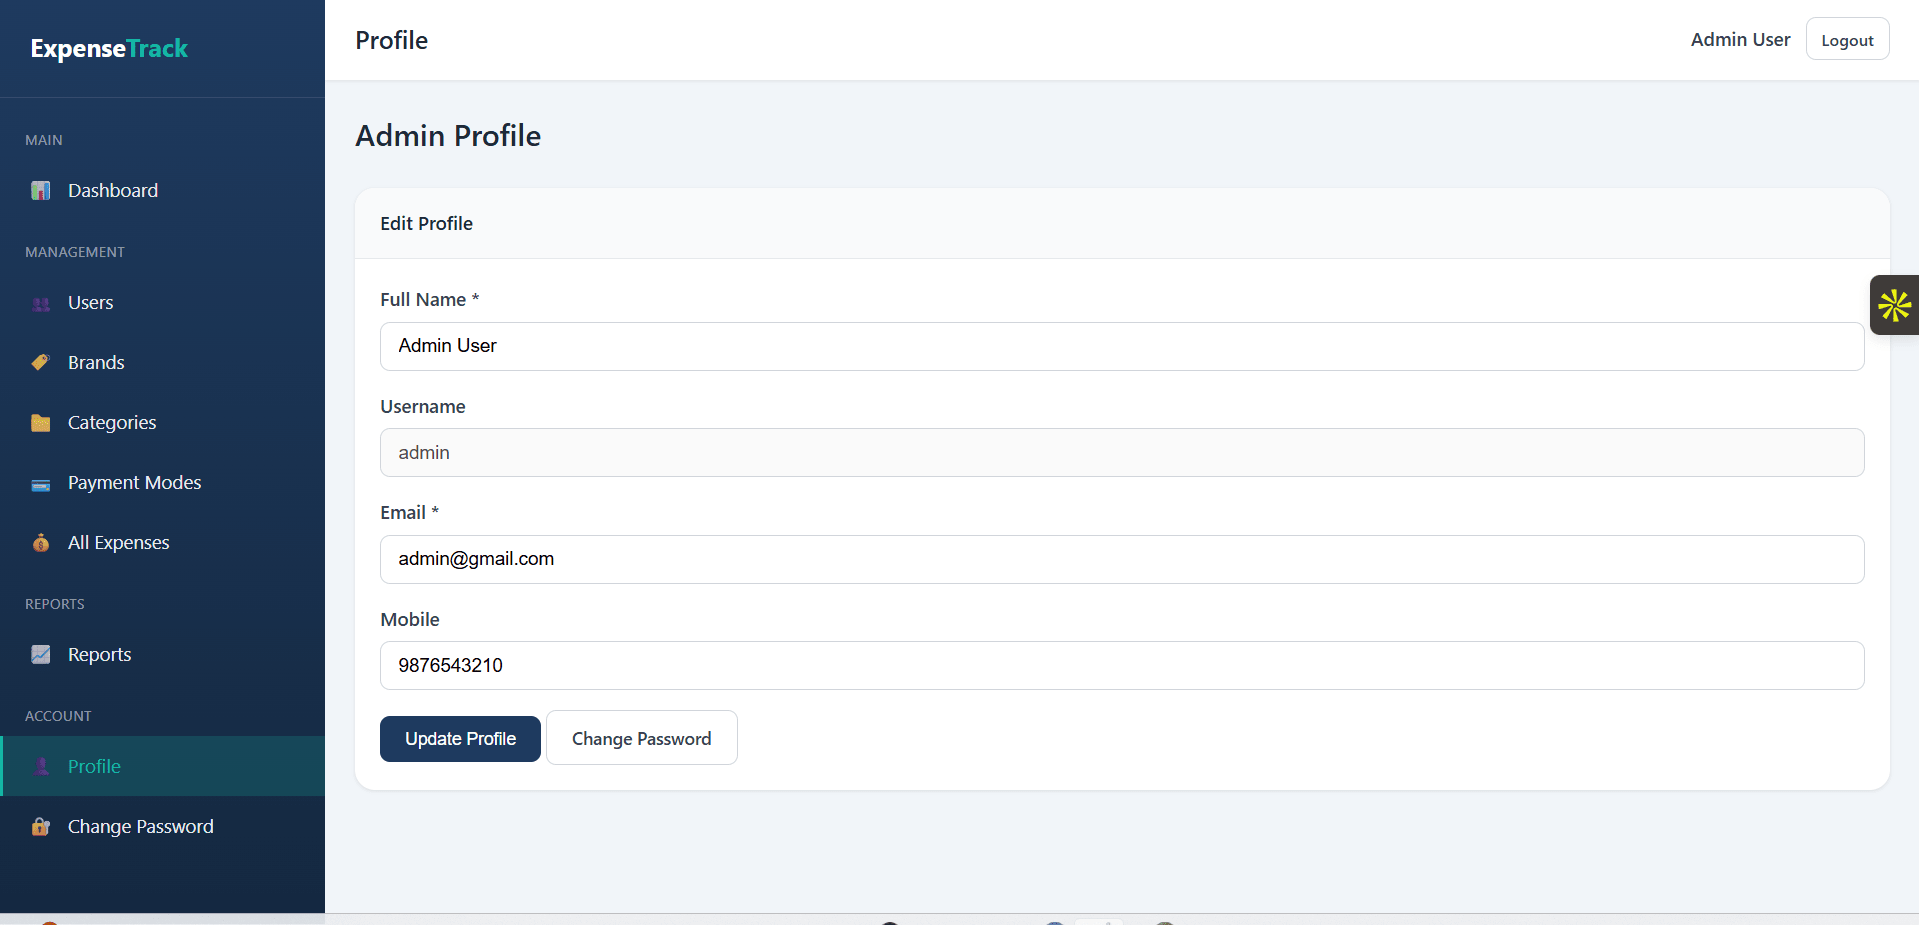
9. Admin Profile Management
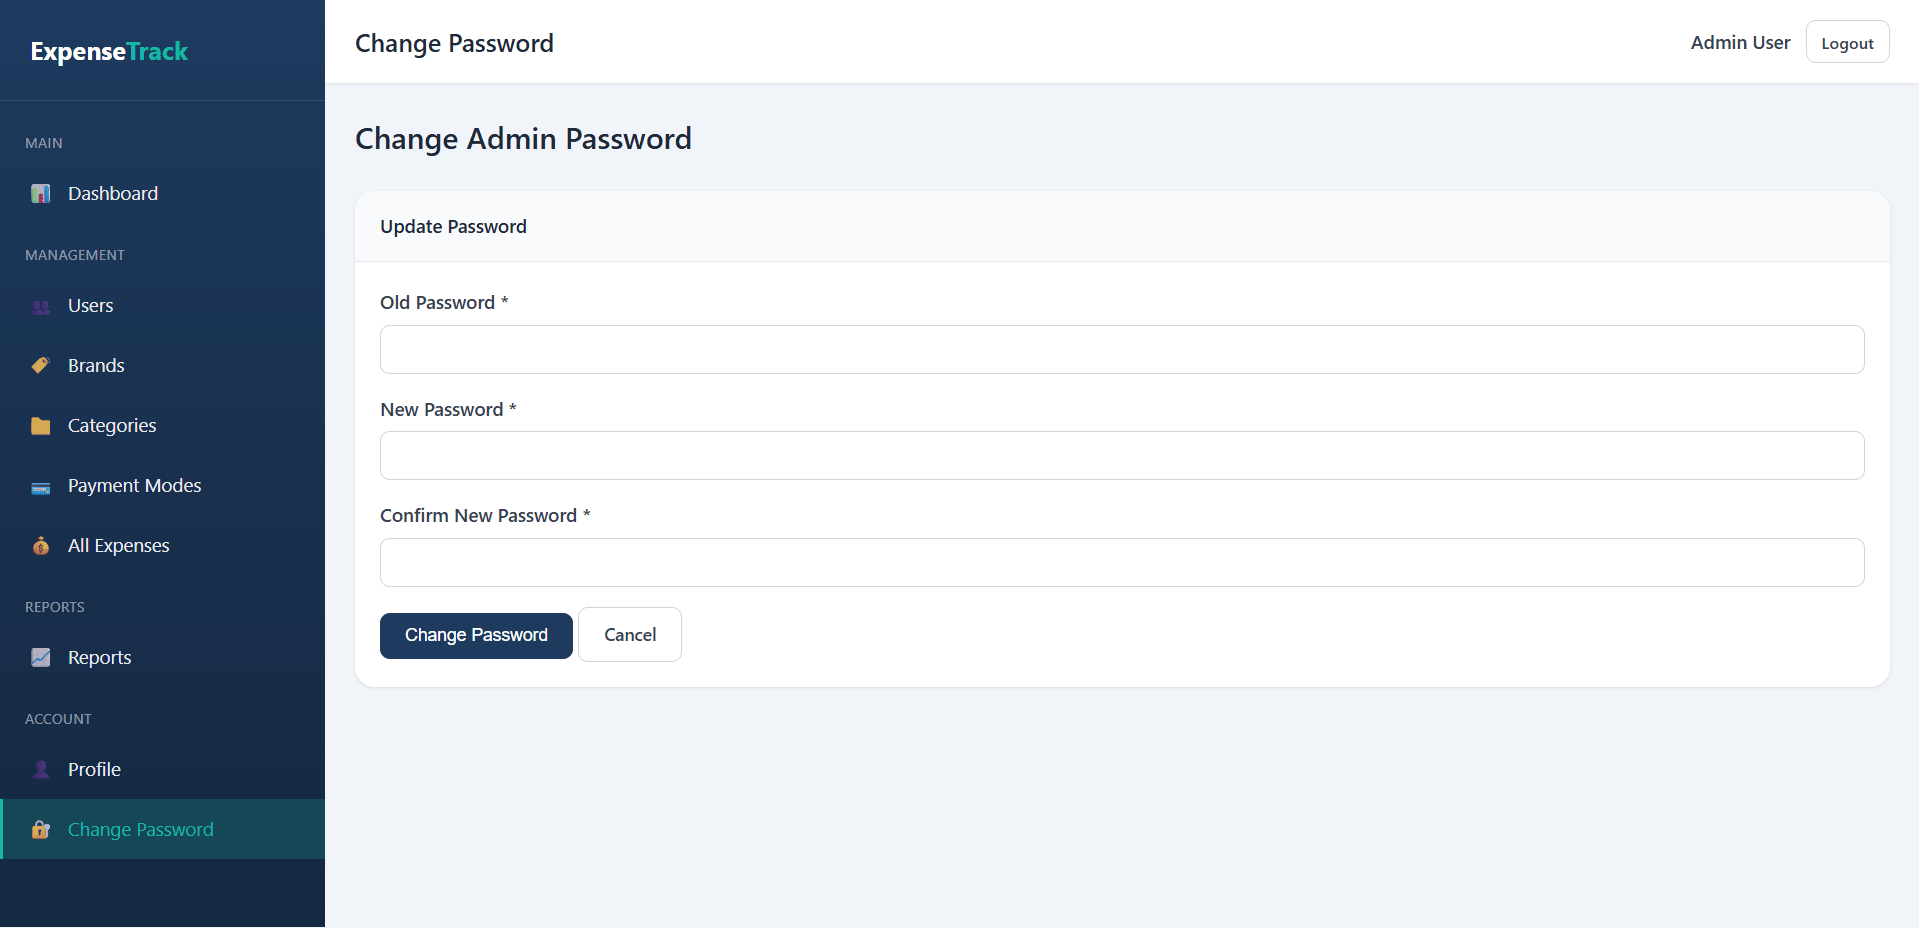
10. Password Management
What end users can do in this application
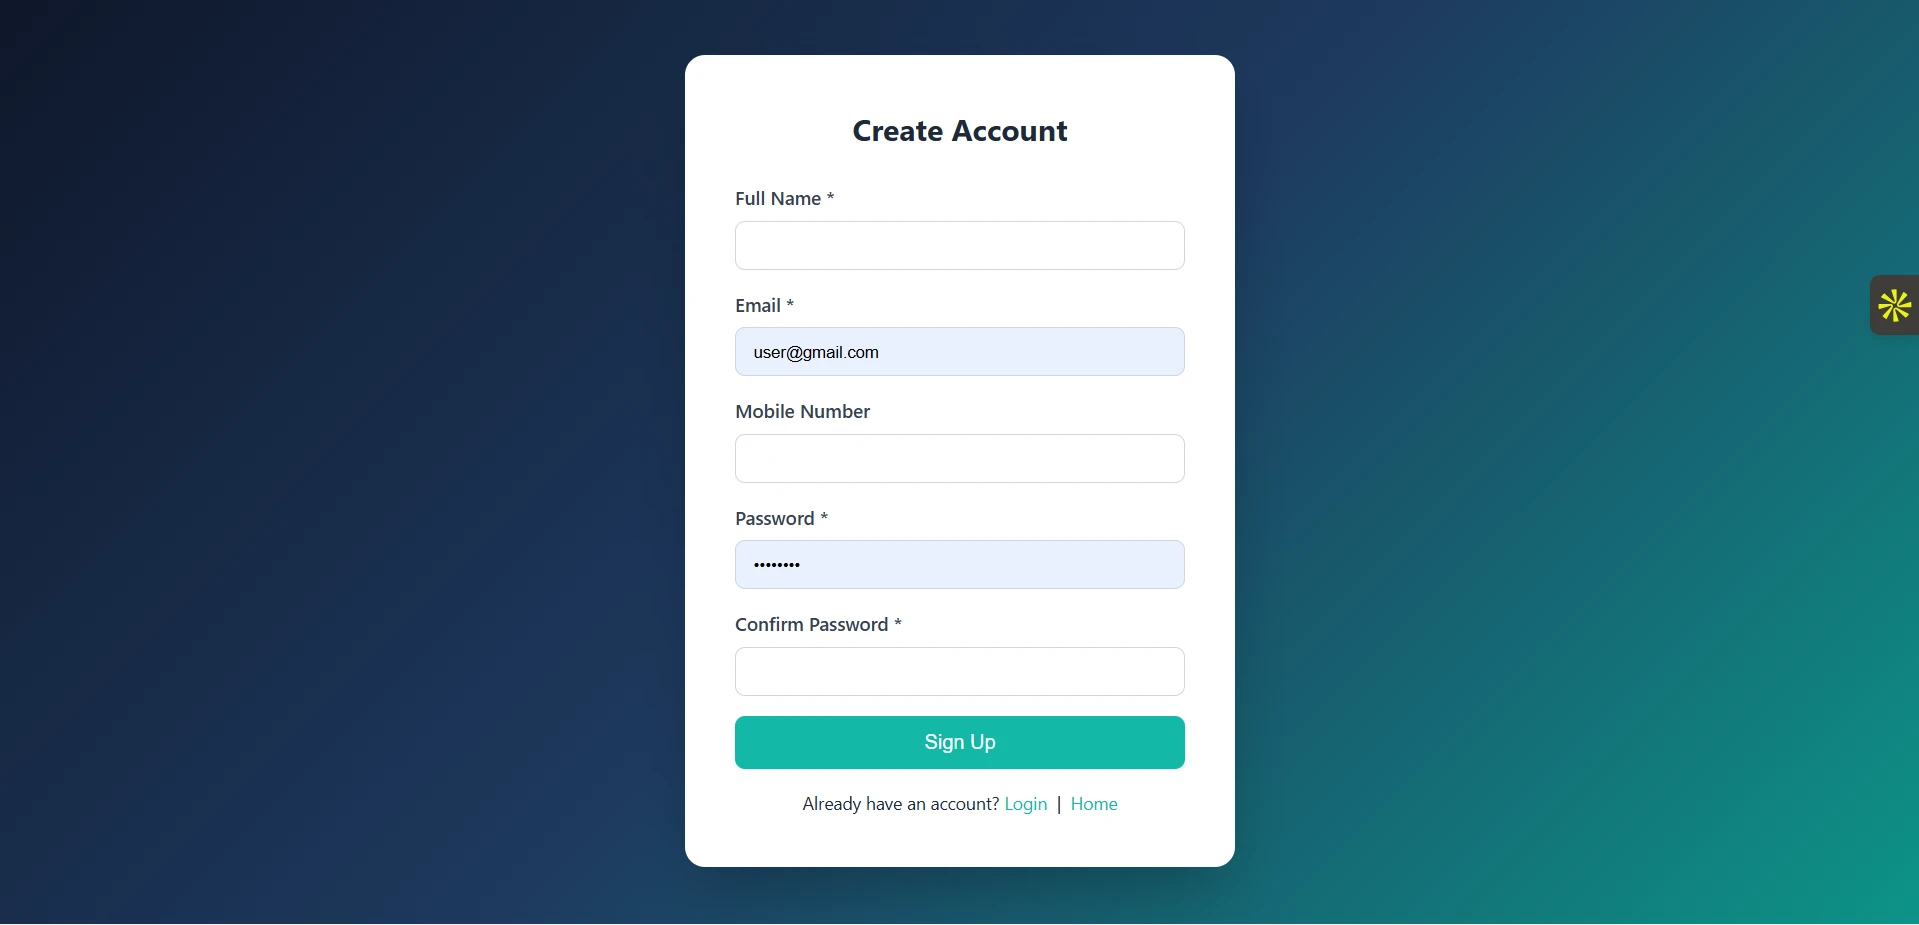
1. User Registration / Signup
2. User Login
3. Forgot Password
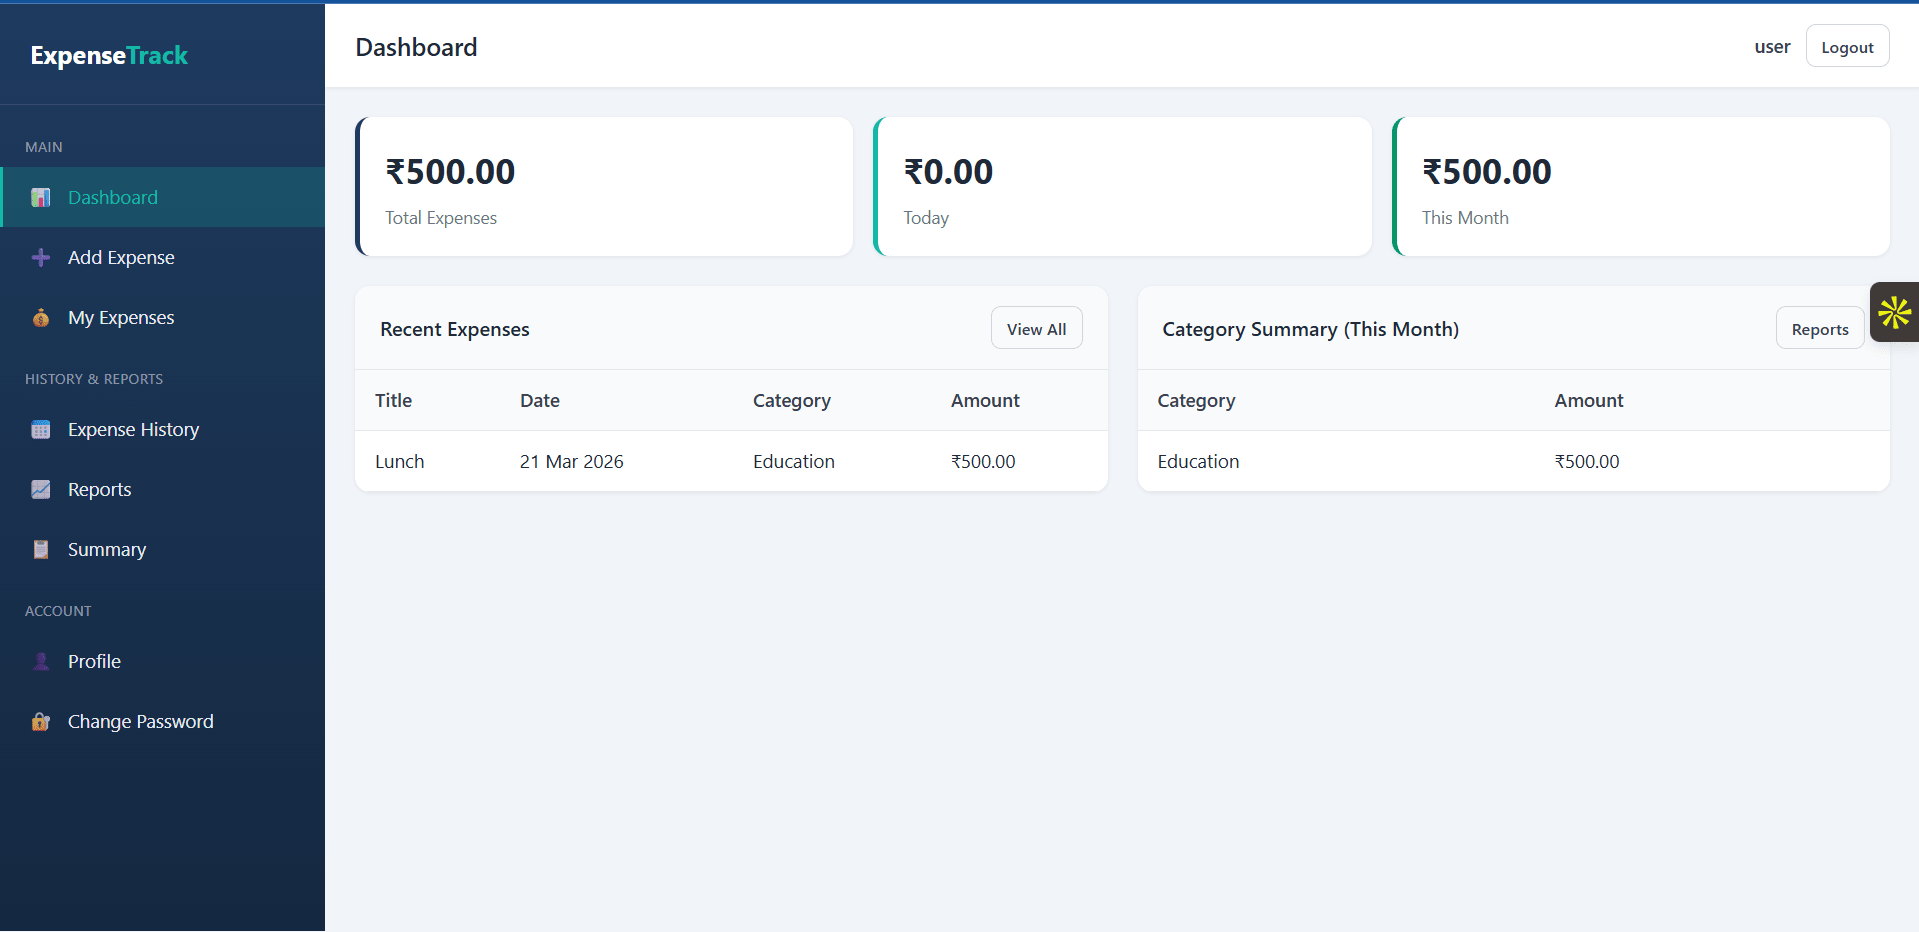
4. User Dashboard
5. Manage Profile
6. Add Daily Expense
User can add expense with the following fields:
7. Manage Expense Entries
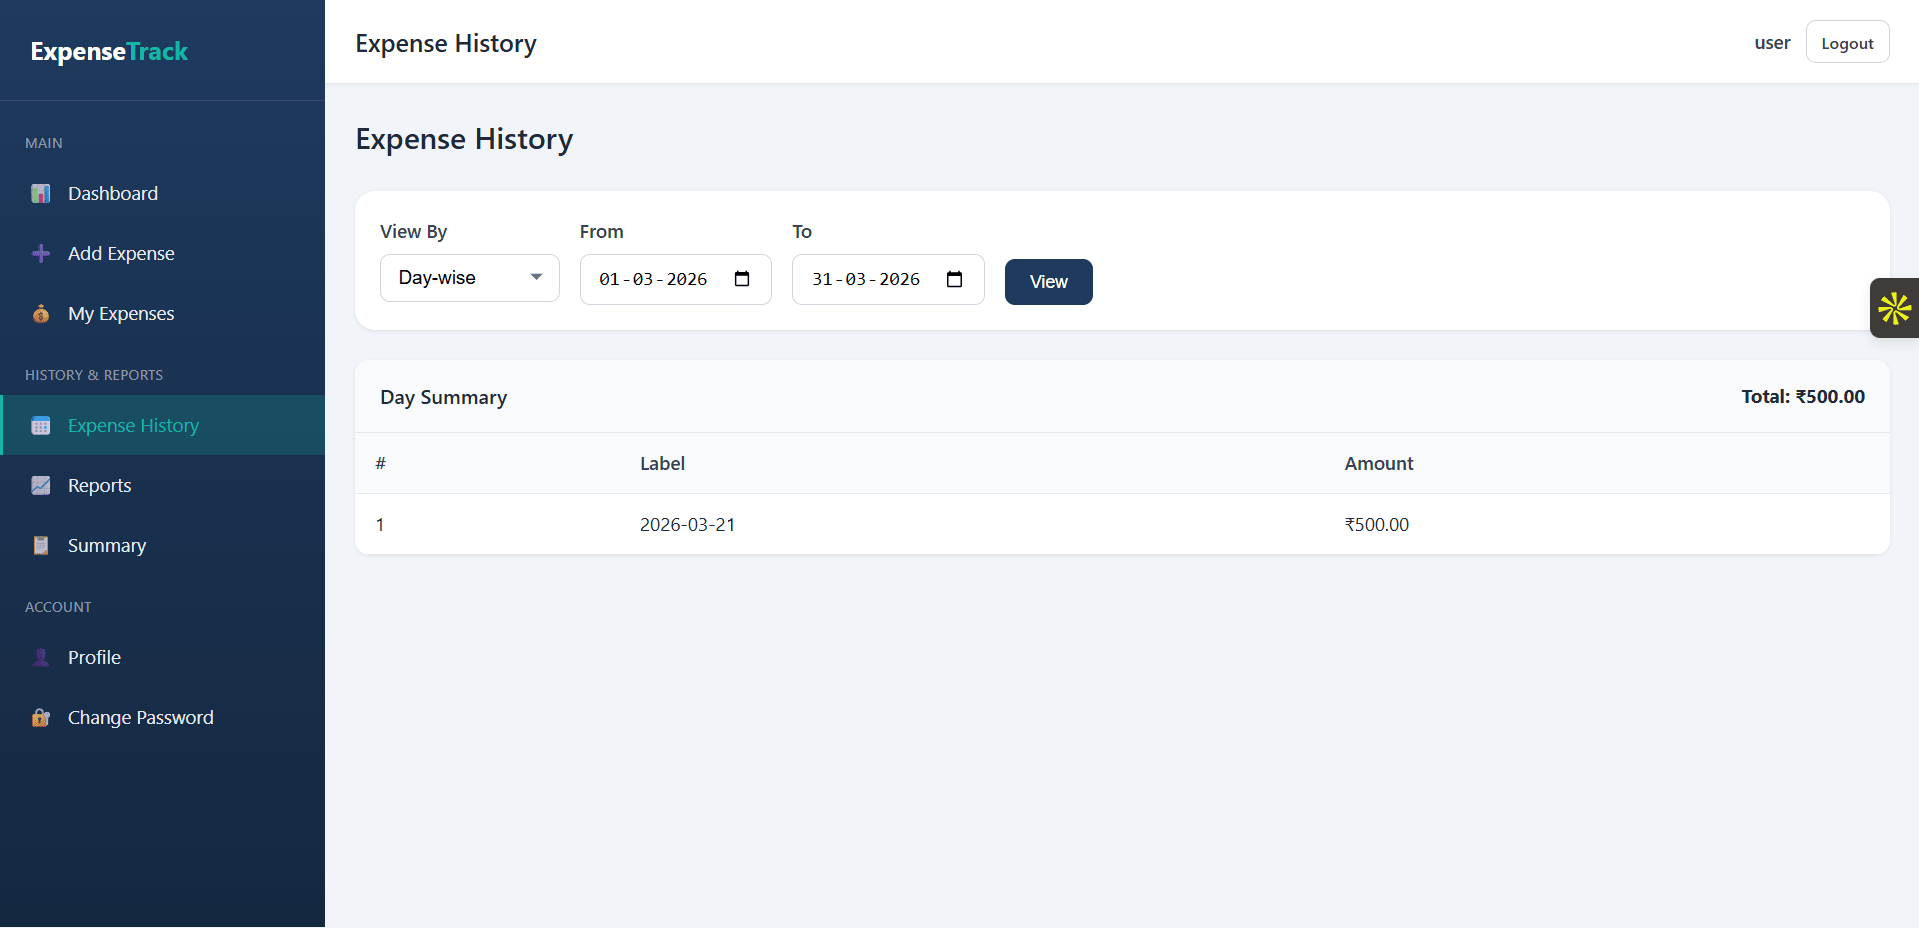
8. Manage Personal Expense History
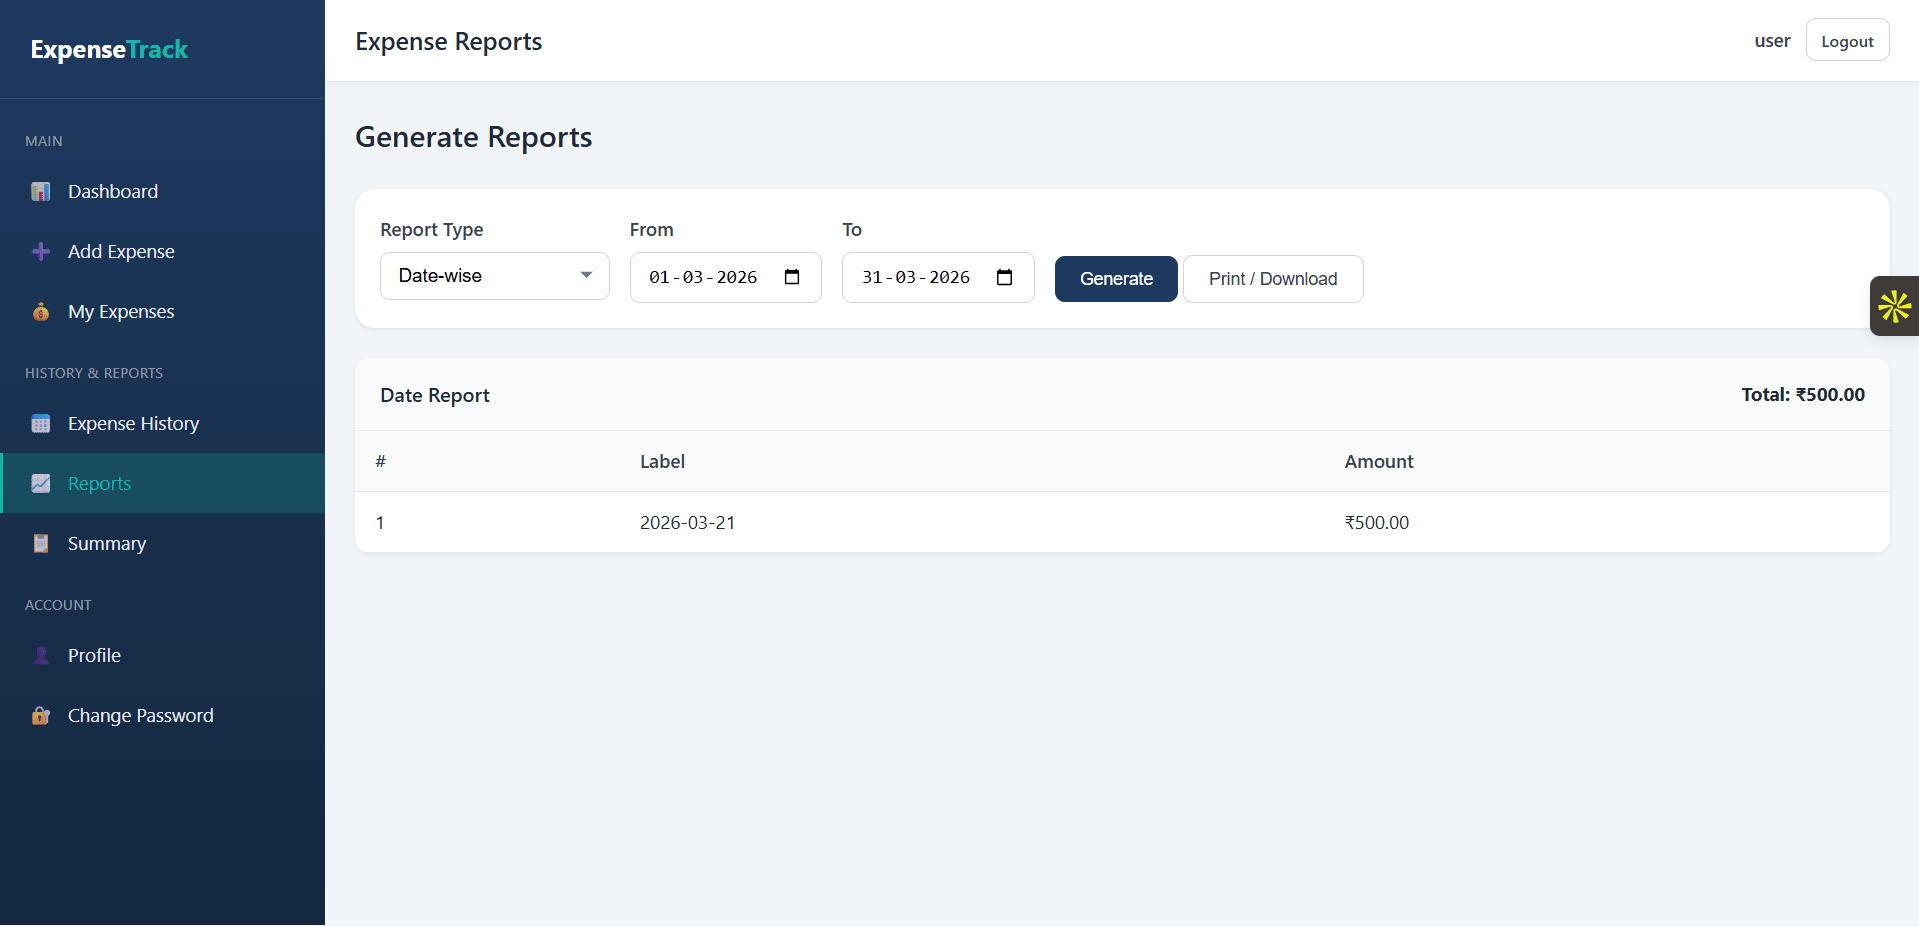
9. Expense Reports
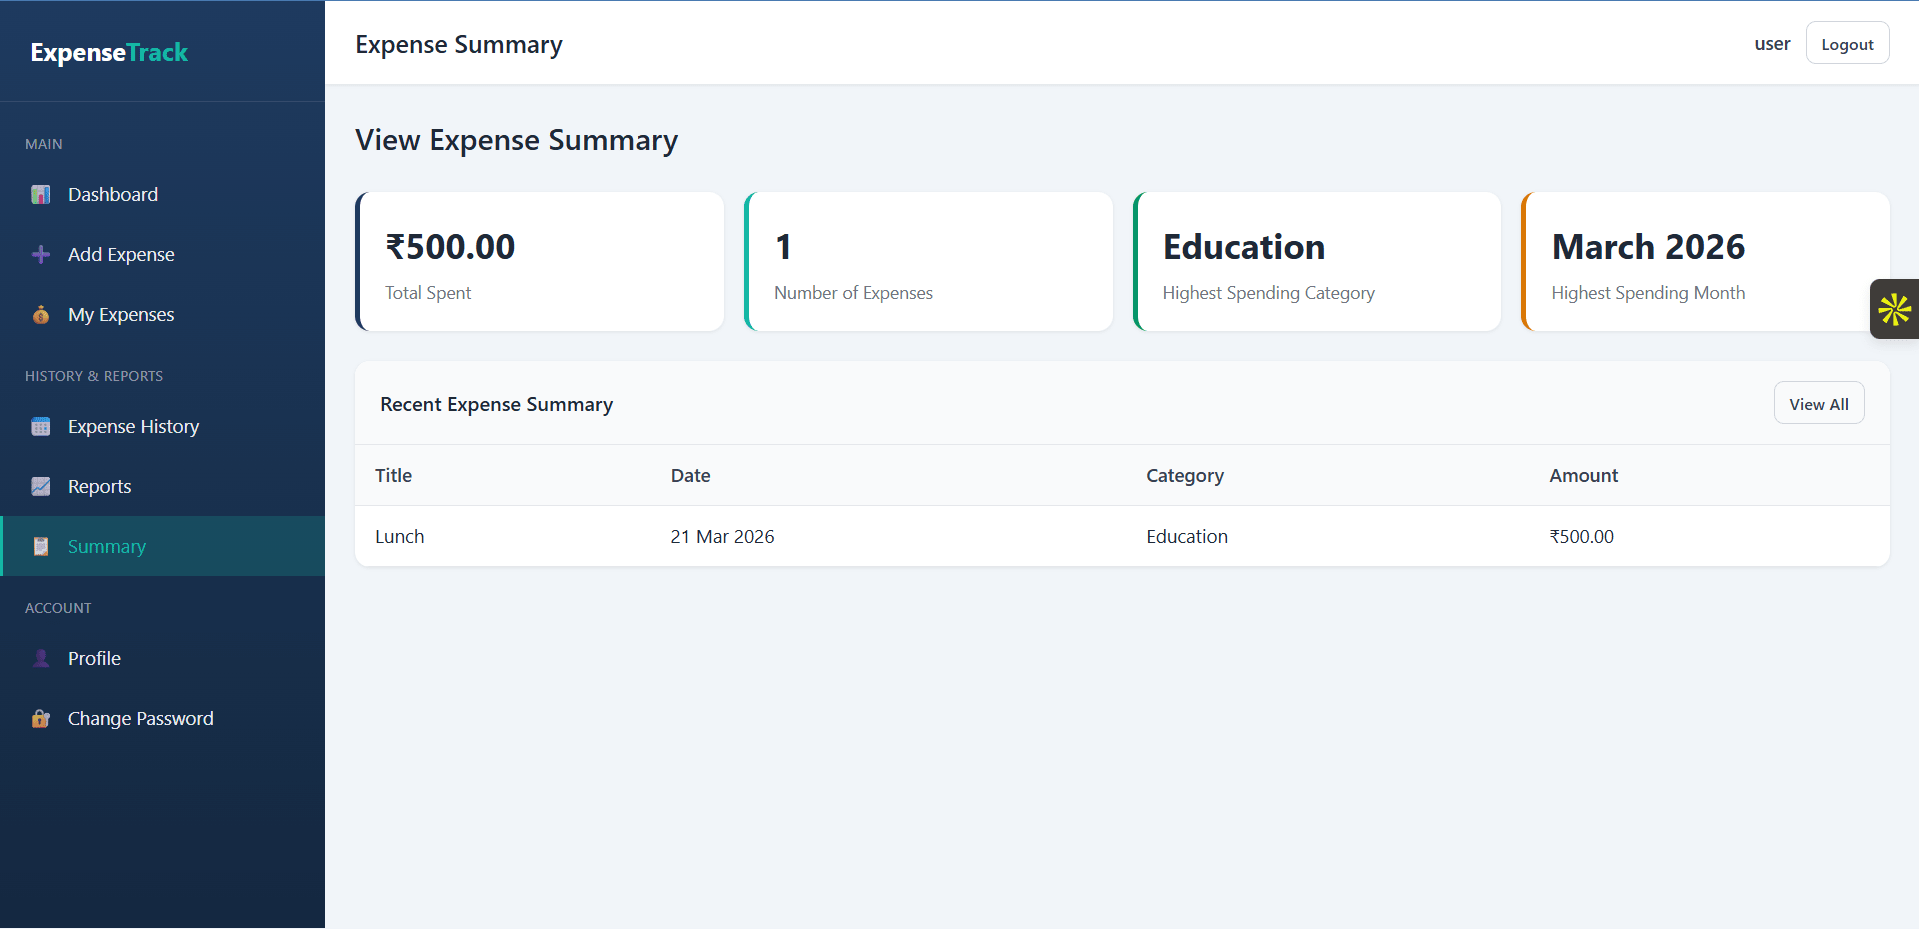
10. View Expense Summary
Additional capabilities included in the project
1. Authentication
2. Form Validation
3. Search and Filter
4. CRUD Operations
5. Database Operations
Step-by-step setup on your laptop or PC
To run the Daily Expense Tracker project, you need a local server environment that supports PHP and MySQL, such as XAMPP, WAMP, or Laragon. Since this project uses HTML, CSS, JavaScript, PHP, and MySQL, it will not run by opening files directly in the browser. You must place the project inside your local server directory and connect it with a MySQL database.
After installation, open the control panel of your local server and start both Apache and MySQL services. These two services must be running before you open the project in your browser.
If your project folder name is daily-expense-tracker, the path may look like C:\xampp\htdocs\daily-expense-tracker.
Create a new database, for example daily_expense_tracker. After that, import the SQL file provided with the project into this database. This SQL file usually contains all required tables such as admin, users, categories, brands, payment_modes, and expenses.
Update the database details with your local settings, such as:
This step is important because the project will not connect to MySQL unless the correct credentials are set.
The homepage or login page should load. From there, you can access the user panel or admin panel, depending on how the project is structured.
Once logged in, you can test features such as adding expenses, managing categories, brands, payment modes, viewing reports, and checking the dashboard.
Important note:
If the project shows a database connection error, recheck the database name, username, password, and imported SQL file. If the page does not open, make sure Apache is running and the project folder is inside the correct server directory.
You can use this project smoothly after proper setup because it is designed to work as a PHP MySQL web application for daily expense management.
Requirements
Example local URL
Example tools needed
Default demo accounts for testing after setup
To access the project, use the default admin or dummy user credentials created by the seed file. If the login details are not already available in the database, run the seed file first to automatically insert the admin account and dummy user data.
After running the seed file, you can log in with the generated admin and user credentials and test all project features properly.
You can also write it like this in a more professional format:
Default Login Credentials
This project includes a seed file to generate default admin and dummy user login credentials. Before logging in, run the seed file to insert the required sample data into the database. It will create the admin account, user account, and other demo records needed to test the system successfully.
Usage terms for academic and personal projects
Search terms and categories for this source code